Data Layers
FloodScore Planning allows marking places of interest with a location marker (pin) so they can be easily found and identified. It's also possible to import GeoJSON files that contain location markers and objects.
- Location Markers (Pins)
- Import Locations
- Marker Properties
- Export Locations
- Disable individual Data Layers
Location Markers (Pins) | ||
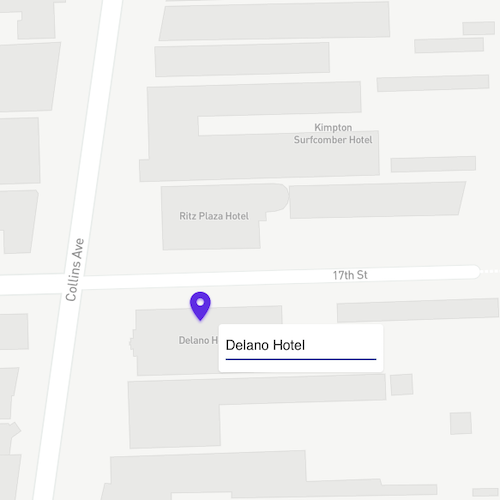
Create a PinIn order to mark a location of interest, zoom to the desired level and right-click the desired location on the map. Click on Add Pin in the context menu that appeared in the map. Hovering the mouse pointer over the pin displays its name. By default, the pin's name are the geographic (latitude/longitude) coordinates.
| ||
Rename a PinHover the mouse pointer over a pin, right-click and select Rename from the context menu that appeared in the map. Delete the coordinates and enter the desired text. Remove a PinIn order to remove a pin, hover the mouse pointer over the respective pin. Right-click and select Delete from the context menu that appeared in the map. You can remove pins that got created in FloodScore as well as pins that were imported in a GeoJSON file. Save pins as GeoJSONPins are not saved in the application. When the user logs out, closes the browser, or leaves the FloodScore app/URL; created pins will be cleared from the map. In order to save pins for future use, download the GeoJSON file which contains the pins. In the main menu, click on Data Layers. Click on the Download button in the Download Locations card. This operation downloads a map(n).geojson file into the browser's default download folder. |
| |
|
|
| |
|
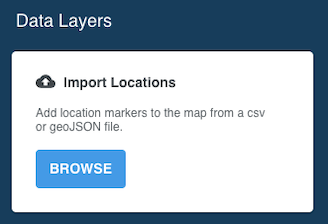
FloodScore Planning allows importing GeoJSON files that contain location markers as well as polygons and lines to identify areas or locations of interest. It is also possible to import location markers from CSV files.
In the main menu, click on Data Layers. Click on the Browse button in the Import Locations card. A file manager windows opens, select the desired GeoJSON (or CSV) file. Repeat this operation for importing locations/objects from multiple GeoJSON files
|
| |
|
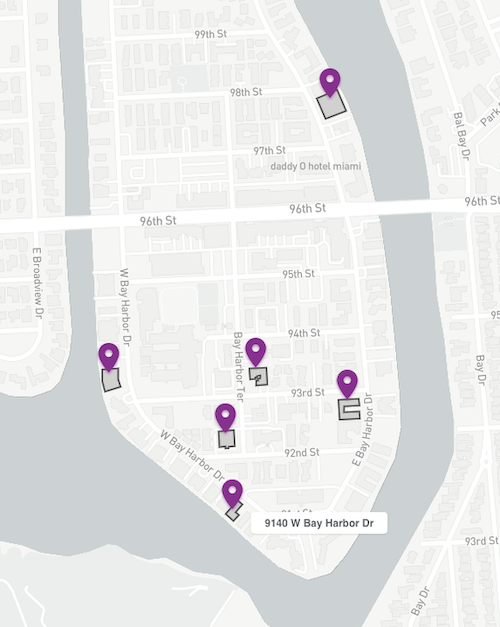
After successfully importing one or multiple GeoJSON files, the map displays the respective objects. Imported location markers (pins) can be renamed as well as deleted. Imported polygons, lines, etc. cannot be modified.
|
| |
Marker PropertiesLocation markers imported from GeoJSON files may have custom properties fields defined. Right-click on a marker and select Properties from the context menu. Any custom properties are displayed in the Properties pop-up window. Use the mouse to scroll cell content. Note: Only custom properties are shown in the Properties window. GeoJSON style properties are omitted. | 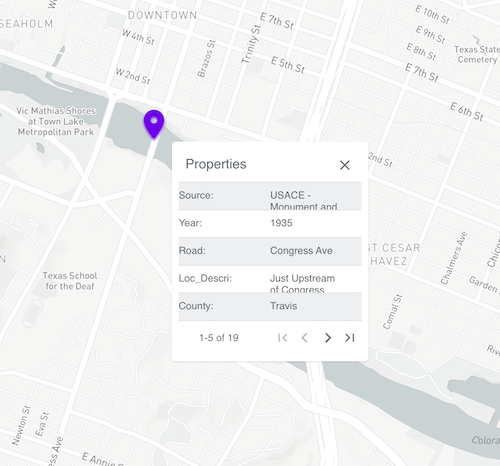 | |
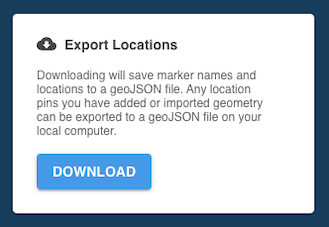
Export Locations | ||
|
Locations such as markers and polygons can be exported to a GeoJSON file. Export Locations creates a single GeoJSON file that contains any markers, pins and polygons that are present. If locations have been imported from multiple files, Export Locations creates a consolidated file containing including any pins that may have been added. To export locations In the, click on the Download button in the Export Locations card. This operation downloads a map(n).geojson file into the browser's default download folder.
|
| |
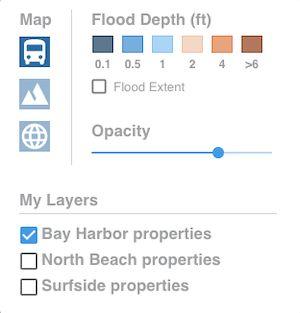
Disable individual Data Layers |
| |
|
By default, all imported location markers (pins) and objects are displayed in the map. If needed, individual Data Layers can be temporarily removed from the map view. Hover the mouse pointer over the map panel in the upper right corner. Uncheck the respective check box(es) in the My Layers section of the Map Control. |
|
